Monday, March 7, 2011

Foul Shot

Step 1. Stance Phase

Line your feet up behind the middle of the foul line. *Your shoulders should be squared to the basket, and your feet shoulder width apart.(*Cue)  Move your non dominate foot back an  inch or two, and your knees should be slightly bent. Your elbows will be flexed while holding the ball out in front of your body about waist level.


              Novice                                               Expert
           
Step 2. Preparatory Phase

* Your knees will be bent and your weight should be on the balls of your feet, which will cause some slight dorsal flexion(Cue). You want to maintain a low center of gravity for stability.  Hold the ball by putting your non shooting hand on the side and your shooting hand in the middle. The ball will be balanced using the palm and finger pads with a space between the ball and center of your palm. *The elbow of your shooting hand will be flexed directly under your wrist and parallel to the floor.(Cue) Your eyes and ball will be facing the basket, aiming for the rim or the box on the backboard. 


               Novice                                             Expert
 
Step 3. Movement Phase

Your shot should be one fluid motion.  From the bent knee positon, which is used for balance, you need to come up by *extending your legs for strength in your shot and extend your shooting arm for the aim in your shot(Cue). This will cause some elevation in your shoulders.  Your guide hand which is your non shooting hand, should stay in the same place. 


               Novice                                             Expert
         
Step 4. Follow Through Phase

Follow through by *flicking your wrist and your fingers should pointing at the target.(Cue)  You should also end up with your heels off the floor and up on your toes. The basketball foul shot takes place in the sagittal plane around the mediolateral axis.


              Novice                                               Expert
     
Step 5. Recovery Phase

Get back into the game.


               Novice                                            Expert
    
Foul Shot Videos
Vidoes are from the Sagittal Plane view

Novice                                                     
                                 

Expert


Drill: Wall Sits


wall sits

This is a great static position drill used by many athletes during practices. This exercise is great for your quadriceps and hamstrings. Leg strength is important to being a good athlete and can prevent many injuries. Its good for helping your mechanics in basketball because your shot comes from a lot of the power used from your legs.

  1. Stand in front of a wall (about 2 feet in front of it) and lean against it.
  2. Slide down until your knees are at about 90-degree angles and hold, keeping the abdominal muscles contracted for 30 seconds.
  3. Come back to start and repeat Do this 2 to 4 times with a 60 second break in between. After a few weeks you can make it more challenging by holding it for longer intervals with a shorter rest time in between.
  4. To add intensity, hold weights or squeeze a ball between the knees.

Bounce Pass

Step 1. Stance

Get into your athletic stance position. Shoulders are squared to your partner, feet are shoulder width apart, knees are slightly bent hands on each side of the ball, *elbow flexion at 90 degrees(Cue), and abduction of the metacarpophalangeal joints and thumb.
              Novice                                              Expert
                    
Step 2. Preperation


*Bend your knees(Cue), bring ball up waist level, hands on each side of the ball, lower your hips, increase flexion at your waist, retract the scapula, and eyes looking at your target.

             Novice                                                         Expert


Step 3. Movement

Step forward with your dominate foot, with *extension of your hip, knee and elbows(Cue). Extending your dominate foot will cause plantar flexion. Then you will release the ball by pronating your  wrists. The ball should be bounced about 3 quarters of the distance between players. 


              Novice                                              Expert
   
Step 4. Follow Through

After you have released the ball, your *palms should be facing out(Cue), causing futher pronation of the wrist and your *thumbs pointed down.(Cue) You will also have internal rotation of the shoulders, knee flexion of the non dominate leg, and elbow extension.


               Novice                                             Expert
  
Step 5. Recovery

Get back into the game.

               Novice                                            Expert


Bounce Pass Videos
Videos in the Sagittal Plane view


Novice


Expert


Drill: Push-ups
The push-up is a great total body exercise.  It is a good drill for basketball players because it works a lot of the same joints and muscles used in the different skills of playing basketball.  For example, the bounce pass and push-up both use wrist and hand flexion, elbow extension and flexion, shoulder horizontal adduction and abduction, and shoulder girdle abduction and adduction. The push up helps develop strength and endurance. It also can be done anywhere.


Chest Pass
Step 1. Stance


Get into your athletic stance. *Feet are shoulder width apart(*cue), shoulders squared, slight knee flexion, hands placed on the side of the ball, elbows bent, and eyes looking forward.                     
          
            Novice                                                              Expert
              
Step 2. Preperation

Bring the ball up in front of your chest. Place hands on each side of the ball with your fingers spread. *Elbows and knees should be bent(Cue), and you should start to retract your scapula. Your hips should be lowered, increasing flexion at your waist, and your eyes looking at your target.

Novice                                                             Expert
                    
Step 3. Movement


*Step into the pass with your dominate foot. *Extend your hip, knee of you dominate leg and elbows.(Cue) Thrust the ball forward with enough level of force to be reached by your teammate. Release the ball coming off your finger tips.

             Novice                                              Expert
Step 4.  Follow Through


 Finish with your *thumbs down and your palms out.(Cue)  Ball lands at chest level of your teammate.

              Novice                                               Expert
           
Step 5. Recovery

Get back into the game.

               Novice                                              Expert
                   
Chest Pass Videos
Videos from the Sagittal Plane view


                                                 Novice


Expert

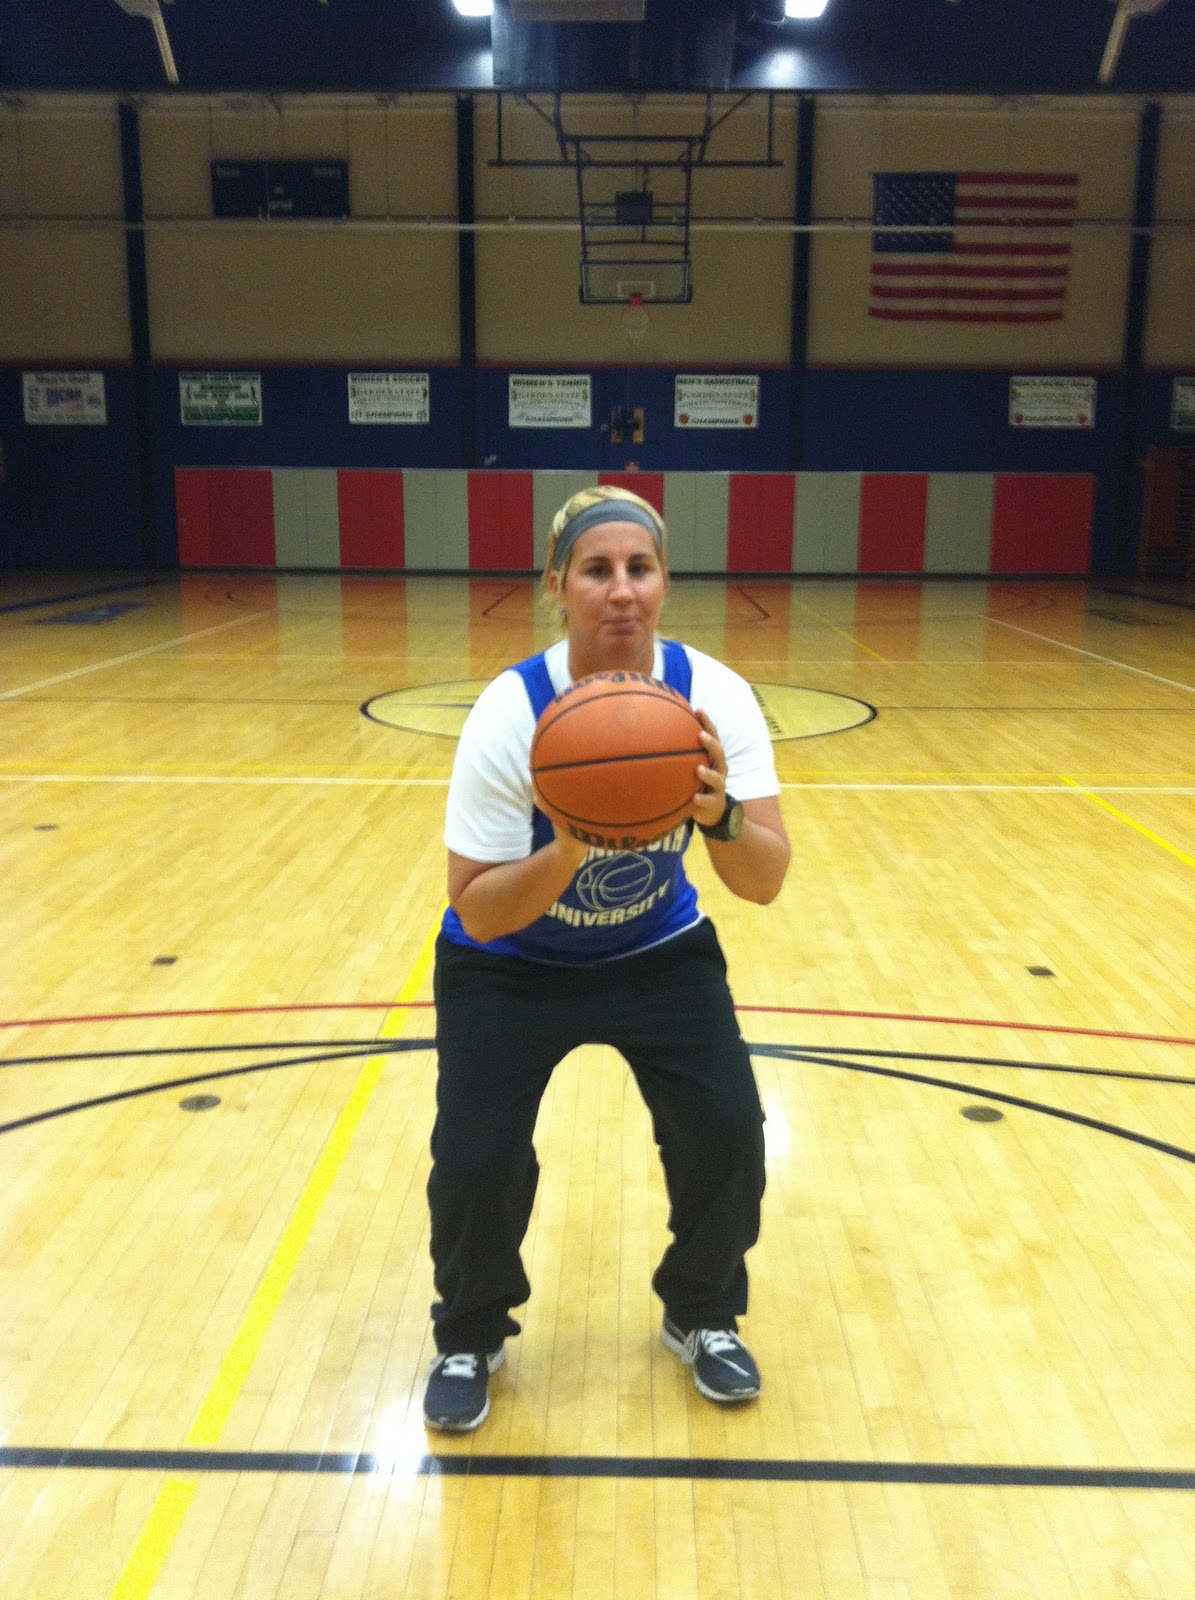
Drill: Medicine Ball Exercises
The medicine ball is a key instrument for strength building to many athletes, no matter the sport. Before every medicine ball exercise, warm up well. Make sure you have enough space around you for the movements. One to three sets of 8 to 10 repetitions is quite enough for a medicine ball exercise. The weight of a medicine ball can be from 2 to 25 lb (1-12 kg).  It trains the core muscles for strength, explosiveness, and endurance.  You can use the medicince ball throwing it back and forth with a partner or you could use it solo by throwing it against the wall or down at the floor.  This is a great drill for the chest pass because you can do it the same way you do the chest pass but just with a heavier ball. 

 
View Image

Terminology

1. Extenstion-Straightening movement resulting in an increase of the angle in a joint by moving bones apart, as when the hand moves away from the shoulder during extension of the elbow joint.
2. Flexion- Movement of the bones toward each other at a joint by decreasing the angle, as in moving the hand toward the shoulder during elbow flexion.
3. Pronation- Internally rotataing the radius so that it lies diagonally across the ulna, resulting in the palm down position of the forearm.
4. Internal Rotation- Rotary movement around the longitudinal axis of a bone toward the midline of the body.
5. Plantar Flexion- Extension movement of the ankle, resulting in the foot and/or toes moving away from the body.
6. Sagittal Plane- Plane that bisects the body from front to back, dividing it into left and right symmetrical halves also know as the anterposterior.
7. Dorsal Flexion- Flexion movement of the ankle resulting in the top of the foot moving toward the anterior tibia.
8. Distance- The path of movement; refers to the actual sum length of units of measurement traveled.
9. Stance Phase- Skill analysis phase that allows the athletes to assume a comfortable and balanced body position from which to initiate the sport skill.
10. Preparatory Phase- Skill analysis phase, also known as the cocking or wind up phase, used to lengthen the appropriate muscles.
11. Retraction- Backward movement of the shoulder girdle toward the spine;adduction of the scapula.
12. Quadriceps- A common name given to the four muscles of the anterior aspect of the thigh.
13. Center of Gravity- The point at which all of the body's mass and weight are equally balanced or equally distributed in all directions.
14. Balance- Ability to control equilibrium.
15. Hamstrings- The bicep femoris, semimembranosus, and semitendinosus.
16. Weight-Attractive force that the earth exerts on a body.
17. Movement Phase- The action part of the skill, sometimes known as the acceleration, action, motion, or contact phase.
18. Follow-through Phase- Phase that begins immediately after the climax of the movement phase, in order to bring about negative acceleration of the involved limb or body segement; often referred to as the deceleration phase.
19. Elevation- Superior movement of the shoulder girdle, as in shrugging the shoulders.
20. Mediolateral axis- imaginary line around which sagittal plane rotation occurs.
21. Stability- The resistance to a change in the body's acceleration; the resistance to a disturbance of the body's equilibrium.
22. Abduction- Lateral movement away from the midline of the trunk, as in raising the arms or legs to the side horizontally.
23. Force- The product of mass times acceleration.
24. Static Stretching- maintaining a slow, controlled, sustained stretch over time, usually about 30 seconds. Statics is a branch of mechanics dealing with systems in a constant state of motion.
25. Abdominal Muscle- Provide support for the torso, help the body move, and for the breathing process.